


Instructions on How to Replace a Shower Valve
Fixing a shower valve problem can require more than a little DIY know-how. Depending on what went wrong with your fixture, you might need to know how to remove caulk, disassemble valves, and even solder. There are slight variations to what may be required for any given job, but this guide will give you an idea of what steps to expect.
Preliminary Steps
Like any DIY project, it’s best to identify what needs to be fixed and assemble the necessary tools before you get started.
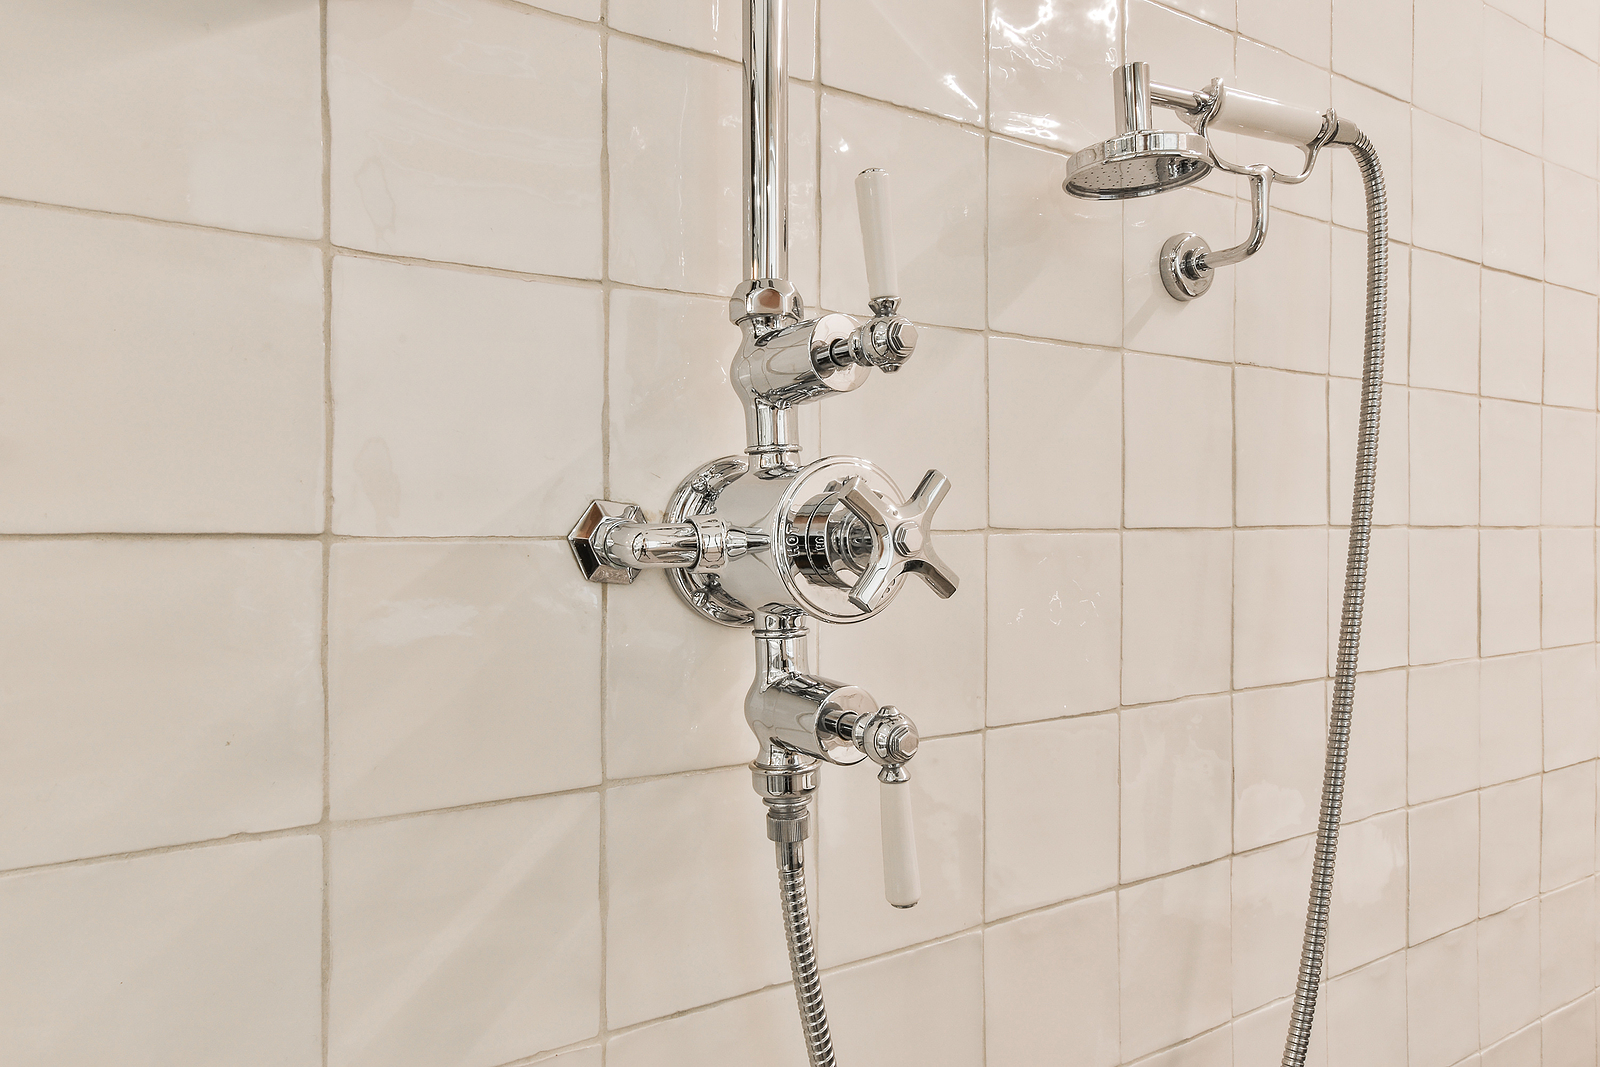
There are three main types of valves that go into making a shower work:
- Pressure-balancing valves, which enable a swivel handle to modify pressure and mix hot and cold water
- Thermostatic valves, which control water temp at a preset level in one direction
- Diverter/Transfer valves, which you activate to redirect water flow from a bath faucet to a showerhead or vice-versa
If you’re experiencing a leak near the handle or a loss of control over the water heat, the cartridge is the likely culprit. If the temperature is the issue but there is no leak, then buildup of dirt and lime may be to blame. But don’t discount the possibility that irregularities you’re experiencing during showers are caused by issues in the plumbing in the walls.
Regardless, it is important that you look-up the make and model of the shower parts you are trying to fix. When you have the replacement part(s) on hand if the cartridge or whole valve needs replacing, then it’s time to gather the other necessary tools:
- Screwdrivers, allen wrenches, channellock pliers, and needle nose pliers will likely all come in handy
- A utility knife and a small hacksaw may be needed if the escutcheon plate affixing the faucet to the wall is caulked on and if you need to remove some of the wall in order to gain access to work around the valve assembly
- Vinegar or lime remover may be useful if you suspect that there is buildup in the parts that needs to be cleaned
- Teflon thread tape and a soldering kit will come in handy if you need to replace the whole valve assembly and are working with copper pipes
- Rags or towels are useful for both giving you added grip or covering the base of the tube or floor of the shower (which will stop any nut or bolt from falling down the drain)
Actually Fixing the Valve
The exact model of your shower will determine the specific steps you need to take, but the basic procedure you’ll follow is this:
- Shutoff the water supply to the shower to make the fix less messy
- Cover the drain
- Unscrew and remove the trim plate, faucet and handle to lay bare the valve assembly.
- Reassess the problem, disassemble the cartridge using the pliers to clean or replace as needed. Alternatively, if the whole valve is being replaced, disconnect the old assembly from the piping and affix the replacement.
- Retighten the assembly, turn the water access back on and run some water to check for leaks. Fix any if found.
- Replace the handle, faucet and trim plate, clean up (possibly re-caulk the fixture depending on your situation).
This outline does gloss over some directions best left to manufacturers’ recommendations or to the knowledge of a professional. If you’re in need of that professional experience in Northwest Indiana or illinois’ South Cook County call (219) 322-4906 to get in touch with Reichelt Plumbing.