


Troubleshooting the Thermostat on a Hot Water Heater
Nothing can spoil a day like the loss of hot water. If you’re finding it difficult to get hot water from multiple faucets in your house, a faulty water heater thermostat may be the culprit. If only one part of the house is showing problems, then it may be a valve issue at the output. Testing the heater’s thermostat can be simple if you follow these steps.
Assembling the Tools
- A multimeter
- A screwdriver to unscrew the heater’s electric access panel
- Rubber gloves, or grounded boots, or anything else to prevent getting electrocuted
It would be better if you have some working knowledge of circuits, but even those with no experience can follow the rest of this guide.
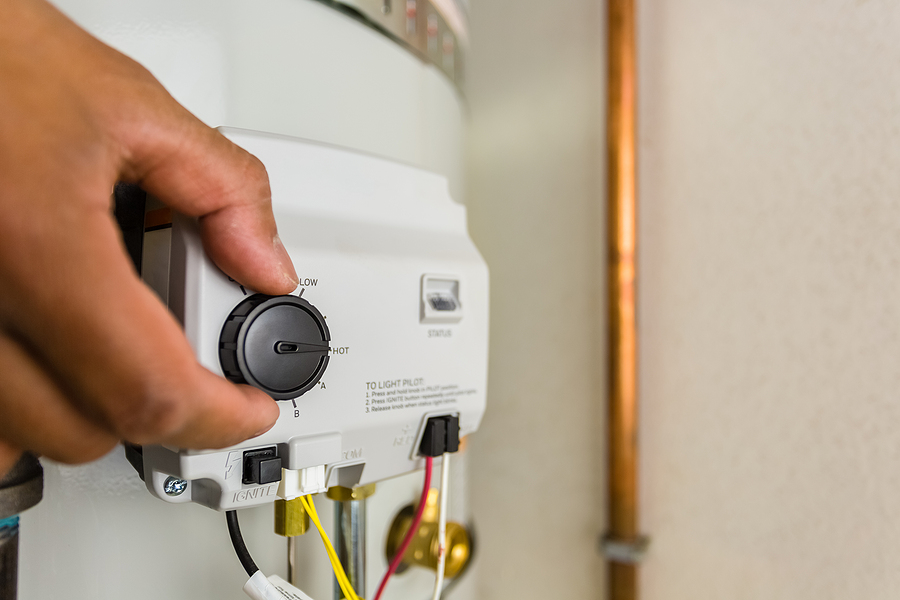
How to Troubleshoot
If your water heater is brand new, you might first want to check if the setting of the thermostat is too low. Sometimes professionals will set it low on purpose when installing a unit.
Before using the multimeter, check to see if the circuit breaker for the water heater has tripped. If it has, try replacing it back to see if that solves your problem. If not, then remove the breaker to make it safe to remove the panels covering the thermostats.
With the panels removed, you will likely see two thermostats. You will need to remove a plastic cover on each thermostat. You need to be able to see the screws of each for tests.
Testing for Continuity
First, you should check if the circuit is a closed loop. This is only possible if the water in the heater is at least 90℉. If it isn’t, switch to the voltage test.
Set the top thermostat to its highest setting. Set the multimeter to have a resistance of 1 Ohm (Ω) and touch one of its leads to the top thermometer’s screw. If there are four screws on your thermostat, #4 will be what connects it to the lower thermostat, and you will also want to see what the multimeter reads when you connect a lead to screw #1 and #4. In both tests the multimeter should read “0”, which means the circuit is closed.
If the circuit is not closed, look into replacing the top thermostat. If it is closed, check the other thermostat in the same way. If that is also closed, move on to test for voltage.
Testing for Voltage
Replace the electric breaker. Turn the top thermostat to its highest setting and the bottom thermostat to its lowest. Set the multimeter to read in the 500V range. Touch one of the multimeter leads to the top thermostat’s #1 screw and the other lead to #2. You should see about 220V. If you do not, the thermostat likely has low voltage, cannot do its job and must be replaced. If you want to test the bottom thermostat, set it on high and the top on low. It should read about 110V. The solution to low voltage in either case is replacement.
If neither of the above tests finds the issue, there may be a problem with your heater’s internal heating elements. A lot could go wrong, but you don’t have to be alone. Call (219) 322-4906 to get help from Reichelt Plumbing, servicing Northwest Indiana and South Cook County Illinois for the past 25 years.